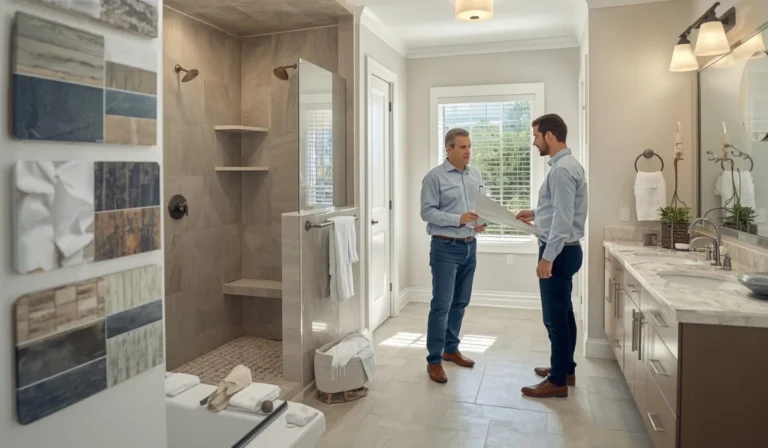
Transforming a dated bathroom into a personal sanctuary is a journey towards beauty and efficiency. In this guide, we will explore real transformations that balance style with smart planning.
You will learn how to pick the best materials, find a great contractor, and use smart layouts to save money. By the end, you will have a clear plan to turn your old bathroom into a modern space that adds real resale appeal from a remodel.
Key Takeaways
|
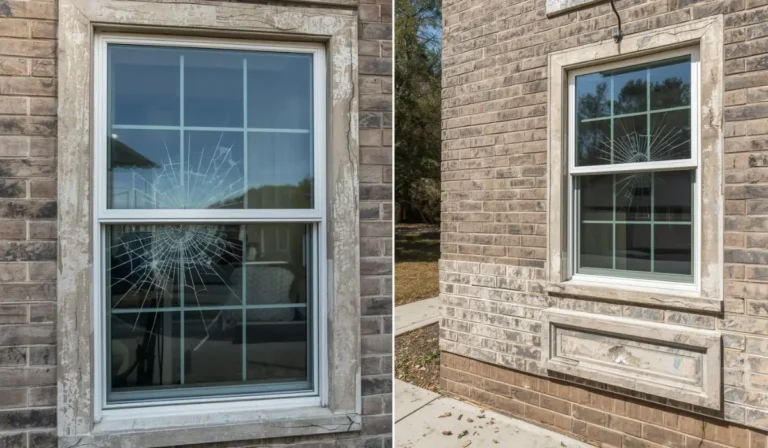
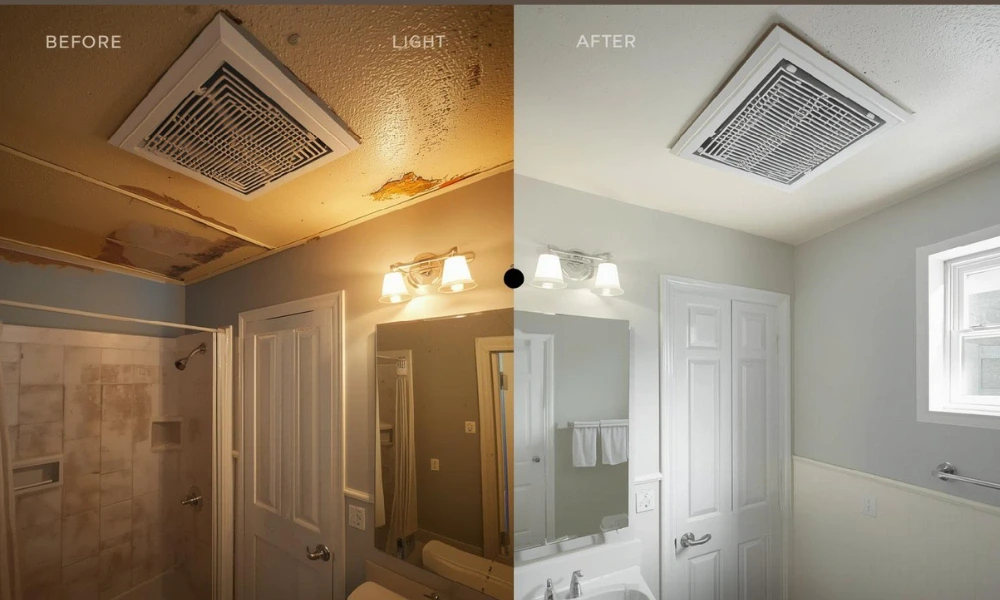
Before Scenarios and Why They Fail
Most bathrooms fail due to outdated materials, poor storage, and a lack of light. In my years of work, I see three main problems.
- First is the “Time Warp” with 1950s pink tile.
- Second is the “Storage Struggle,” where a tiny single sink vanity stays covered in clutter.
- Third is the “Dark Cave” effect in a 5×8 bathroom remodel lacking a window.
We fix these by choosing a bathroom layout makeover that maximizes every inch. Seeing the side-by-side before-and-after bathroom photo set of a wall coming down is always the best part.
Project Timeline: From Demo to Final Reveal
A professional bathroom renovation typically takes three to six weeks, depending on the project scope. A budget bathroom makeover reveal might finish in ten days. Whereas a primary bath remodel transformation involving a to-the-studs bathroom gut remodel requires more time for inspections and curing. This process ensures a high ROI (Return on Investment) for your home.
- Demo Day: 1–2 days for demo day debris removal and haul off.
- Rough-in: 3–5 days for plumbing and electrical changes.
- Curing & Tile: 1–2 weeks for waterproofing behind tile and setting porcelain tile.
- Final Trim: 2–3 days for new fixtures and finishes.
Always perform a punch list walkthrough after the final install to ensure every silicone caulk line and grout sealer application is perfect.
1. Layout Makeover: Maximizing Floor Space
A bathroom layout makeover creates an open feel by removing unnecessary partitions and bulky fixtures. I often see “Before” scenarios where a heavy wall separates the toilet from the vanity. It makes a large room feel like two tiny closets. This type of side-by-side before-and-after bathroom photo set usually shows a wall coming down to unite the space. But if you ignore it during the bathroom remodeling inspection checklist then it would give you a bad headache.
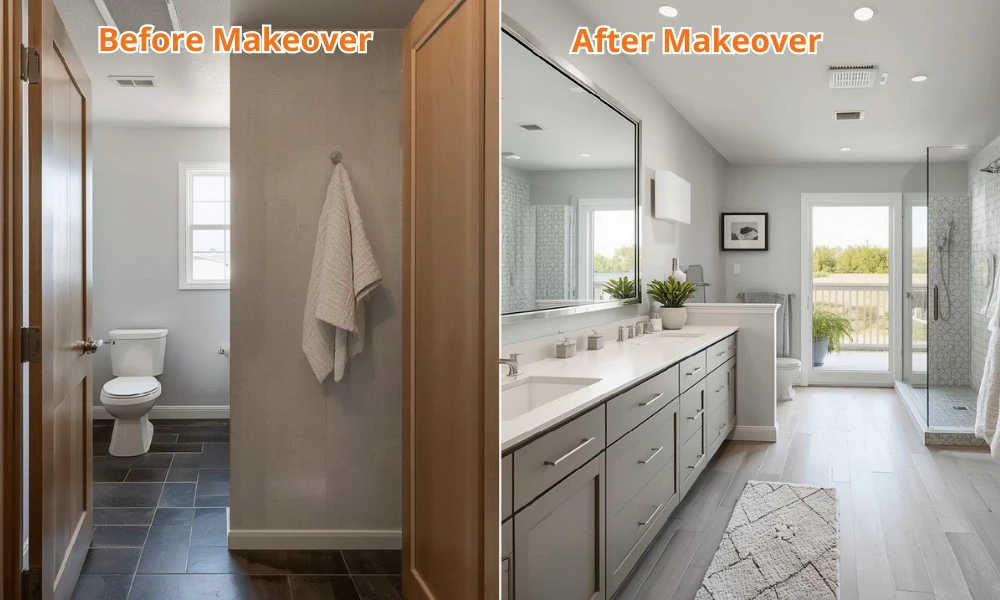
After the change, natural light reaches every corner, and the room feels twice as large. Knowing Why Dallas Homeowners Remodel Their Bathrooms helps you focus on these high-impact spatial changes.
2. Popcorn Ceiling Removal: Raising the Visual Height
Removing textured ceilings is the fastest way to modernize a “Time Warp” bathroom from the 1980s. Before the update, heavy popcorn textures trap dust and cast shadows that make ceilings feel low.
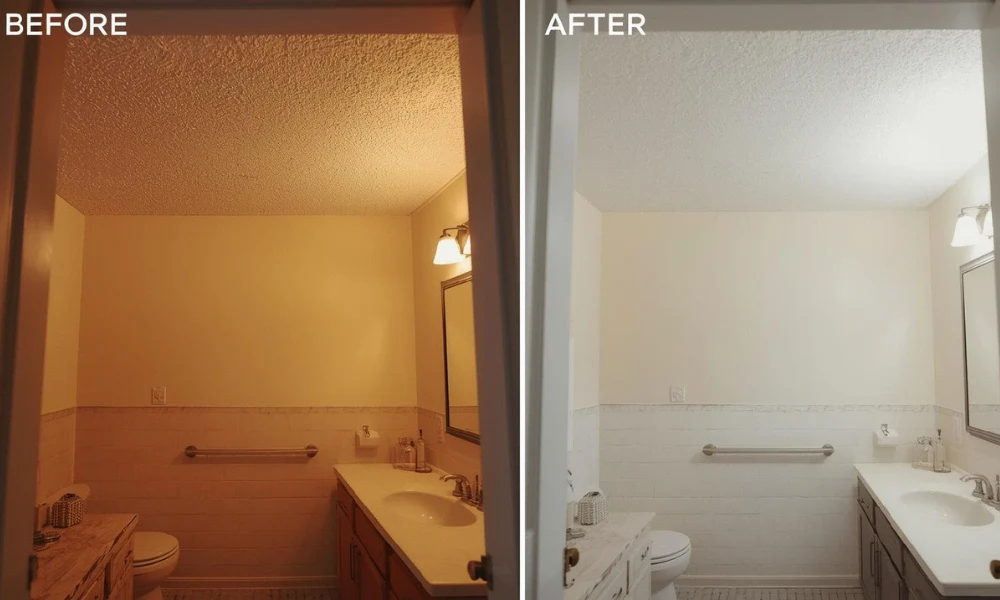
Many before-and-after comparison photos show a transition to a smooth, flat finish painted in a bright white. This change elongates the walls. Moreover, it makes a small bath remodel reveal look significantly more professional. So, if you wanna remodel your 5×10 bathroom affordably, then this is the best idea for you.
3. Wallpaper Removal: Clearing the Visual Slate
Stripping dated patterns allows for a fresh paint color refresh that reflects light more effectively.
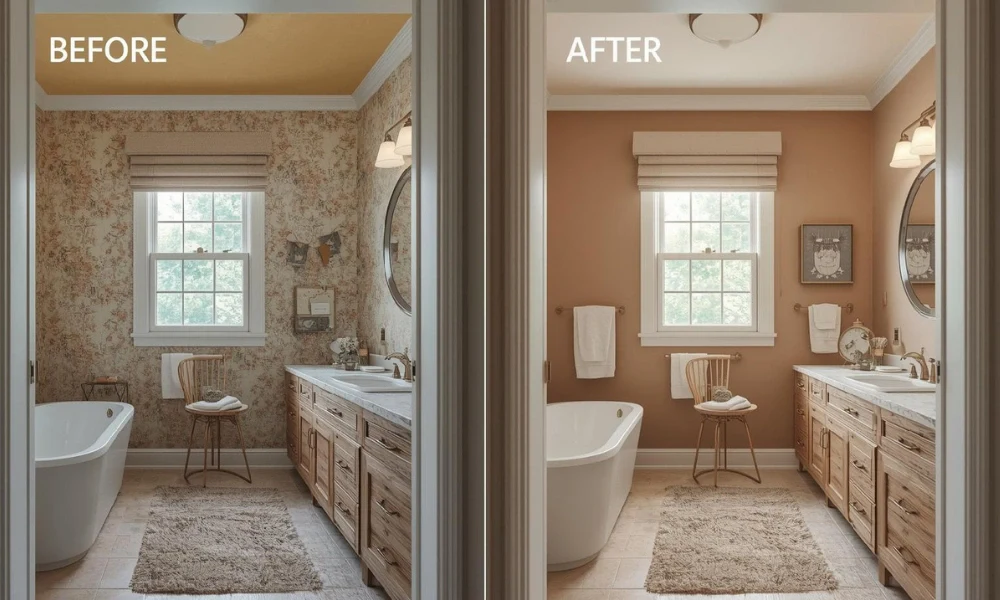
Many old bathrooms feature peeling floral wallpaper that absorbs light and dates the space. After our Wallpaper Removal process, we apply moisture-resistant wall materials and a soft, earthy paint. This brings the room into 2026 with a clean, “Quiet Luxury” aesthetic.
4. Walk-in Shower Conversion: The Modern Wet Zone
Replacing a high-walled tub with a walk-in shower upgrade reveals both safety and modern appeal. Many homeowners struggle with an old tub-shower combo that is difficult to enter.
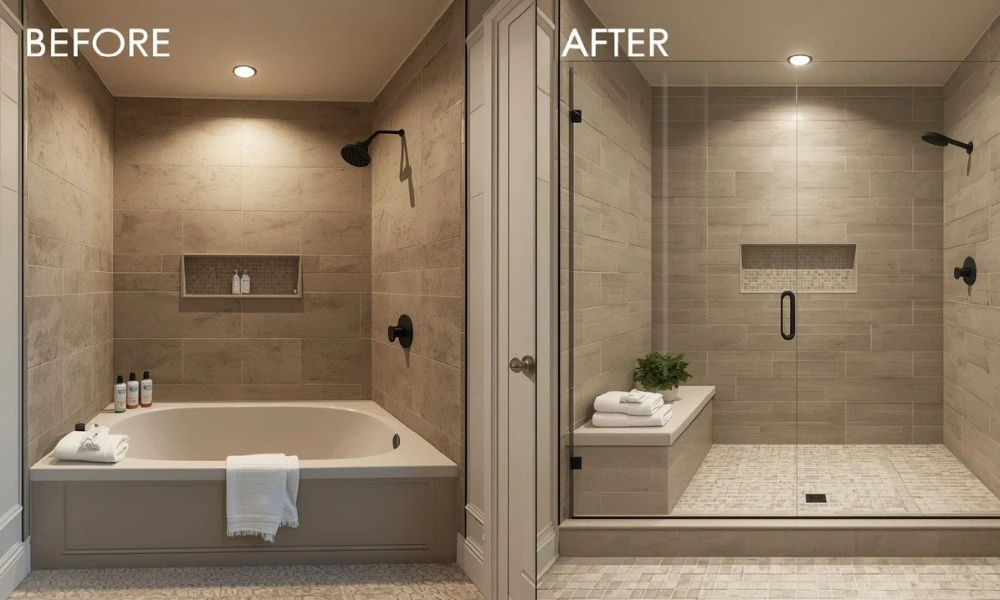
The “After” result often features a spacious walk-in shower with a spa-inspired shower upgrade. This bathroom renovation transformation is the top choice for those seeking a hotel-like experience at home. This is the peak choice for a 5×8 bathroom remodel.
5. Curbless Entry: Seamless Transitions
A curbless entry shower option creates a continuous floor plane that expands the room’s visual boundaries. Traditional showers have a 4-inch “curb” that breaks the floor’s line.

After installing a waterproofing system for shower walls and pan and a Schluter System for drainage, the tile flows directly from the main floor into the shower. This builder-grade bath upgraded to a custom look feature is perfect for aging-in-place and high-end style.
6. Freestanding Soaking Tub: The Sculptural Focal Point
Installing a freestanding soaking tub turns a cluttered corner into a luxurious spa retreat. Before the remodel, many bathrooms usually had a bulky “drop-in” tub surrounded by dated tile decks.
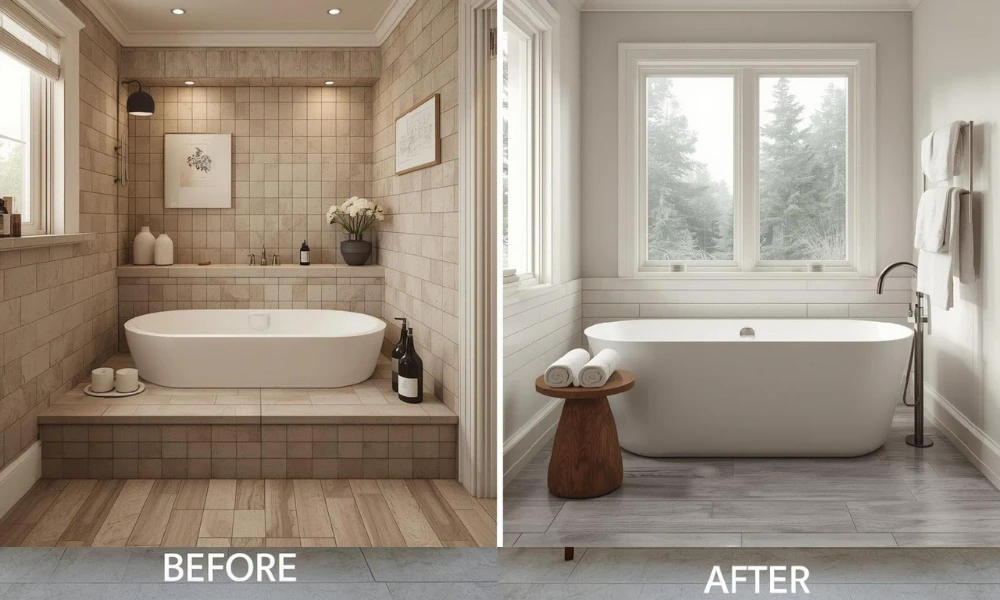
The “After” look features a sleek, standalone freestanding tub that acts as a piece of art. At Texas Pro Remodeling, we often pair these with floor-mounted faucets for a stunning primary bath remodel transformation.
7. Double Sink Vanity: Efficiency for Couples
A double sink vanity adds personal space and significantly boosts a home’s resale appeal. Many couples start with a single sink vanity and a crowded countertop.

By reconfiguring the plumbing layout, I suggest installing two sinks with plenty of soft-close vanity drawers. This vanity replacement allows two people to get ready at once with total ease.
8. Quartz Countertop Upgrade: Durable Elegance
Switching to a quartz vanity top upgrade provides a non-porous surface that stays beautiful for decades. Old laminate or tile counters often have stained grout and water damage.
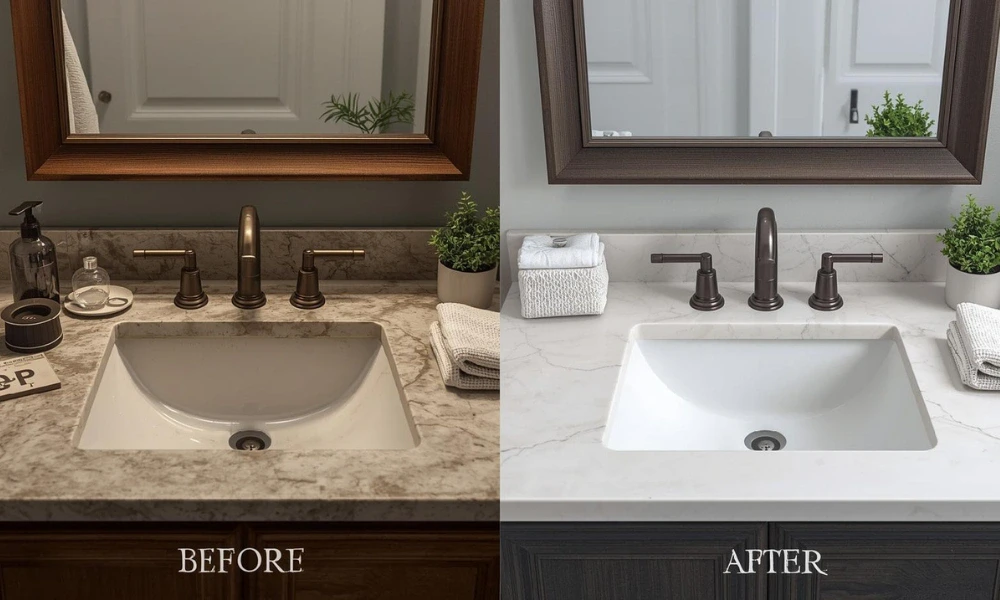
After the upgrade, a seamless quartz countertop offers a clean, marble-like appearance. It resists stains and requires very little maintenance. This is the most common request of many homeowners I have encountered.
9. Soft-Close Cabinetry: Quiet Luxury
New vanity with drawers to reduce countertop clutter often includes soft-close hinges to protect the cabinetry. Before the change, the old cabinet doors may tend to slam and wear out quickly.
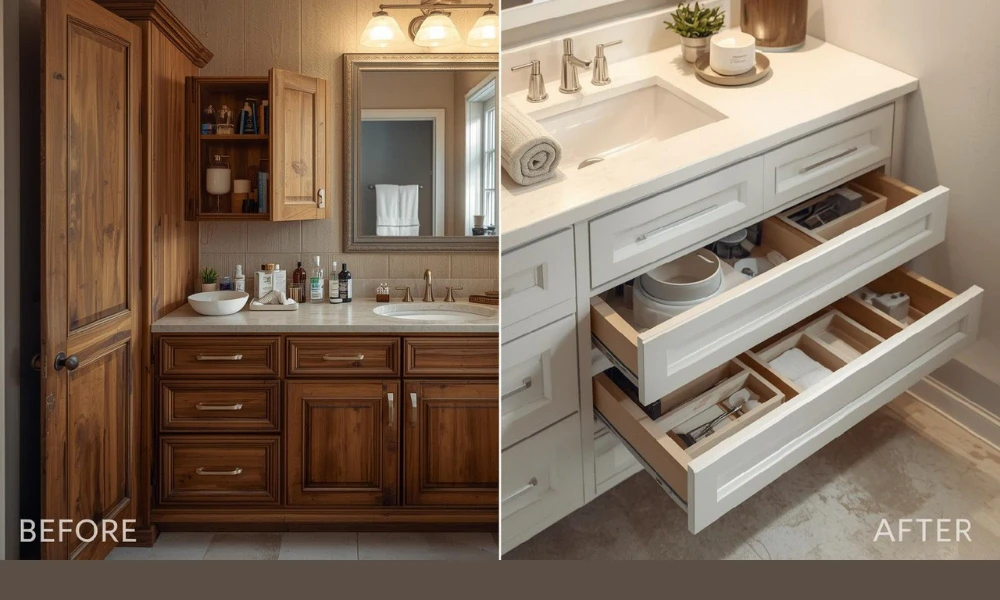
The “After” experience is peaceful and high-end. I suggest vanity organization inserts for every midrange bath makeover reveal to ensure the vanity stays functional and lasts as long as the home.
10. Three-Layer Lighting Plan: Removing Shadows
A three-layer lighting plan, with task, ambient, and accent lighting, provides perfect illumination for grooming and relaxation. Most old bathrooms have a single “yellow” light above the mirror.
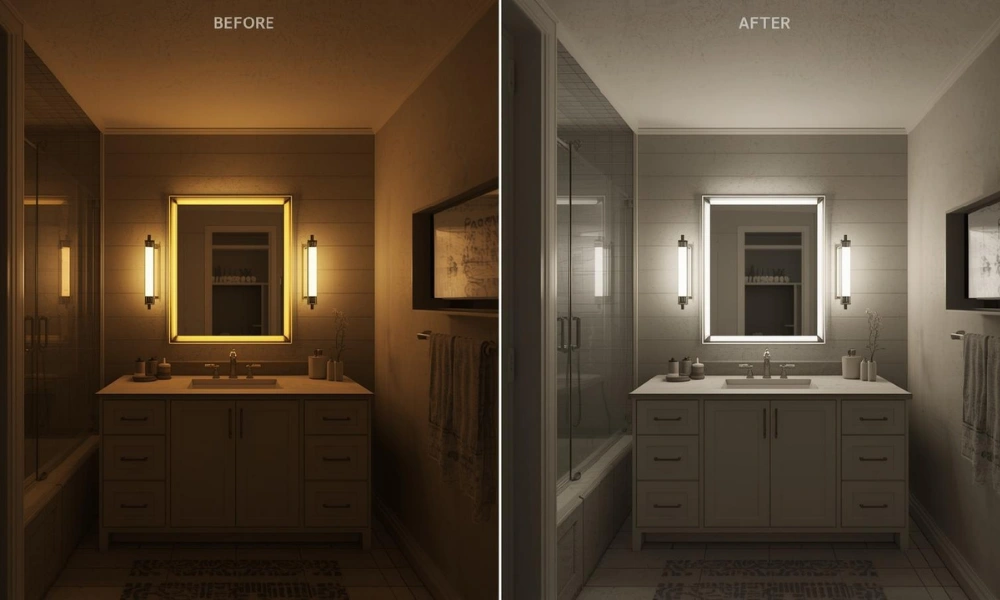
According to the American Lighting Association, face-level lighting is the most effective way to eliminate shadows. After the bathroom lighting upgrade, we use LED vanity lighting at face level plus recessed cans for layered lighting for bathrooms. Adding a dimmer switch allows you to set a soft mood for evening baths.
11. Porcelain Tile Flooring: The Durable Choice
Porcelain tile is the gold standard for high-moisture zones because it stays waterproof and beautiful. Before the remodel, many homes may have cracked ceramic tile or even carpet in the bathroom.
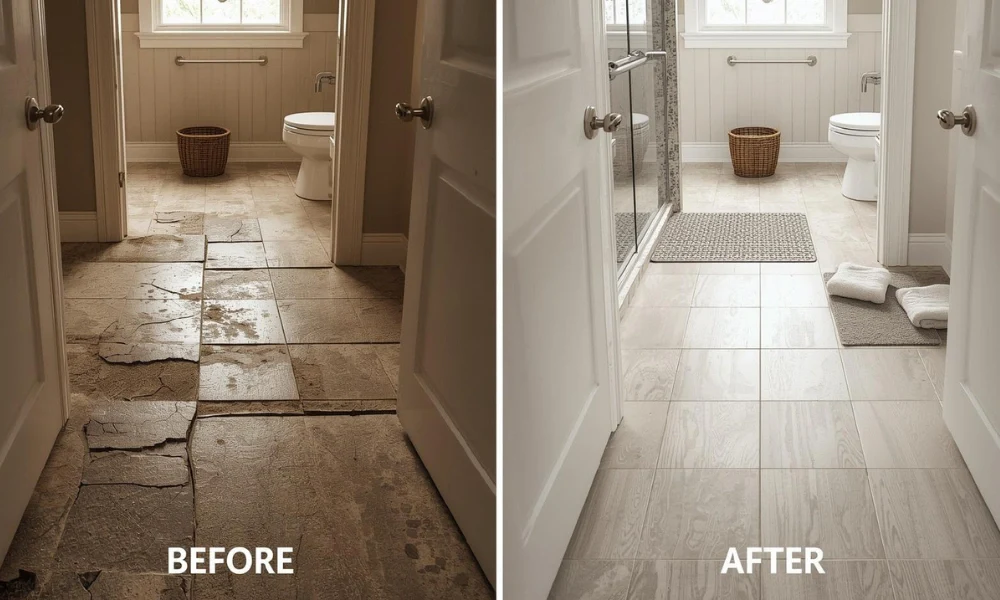
After the swap, porcelain tile provides a tough, slip-resistant surface. Use a penny tile floor for traction in wet zones to ensure safety in the shower. We handle all Flooring Services from demo to the final grout line.
12. Shower Niche Storage: Hidden Organization
Adding a recessed niche for shower storage keeps bottles off the floor for a cleaner look. “Before” showers often have plastic caddies hanging from the showerhead.
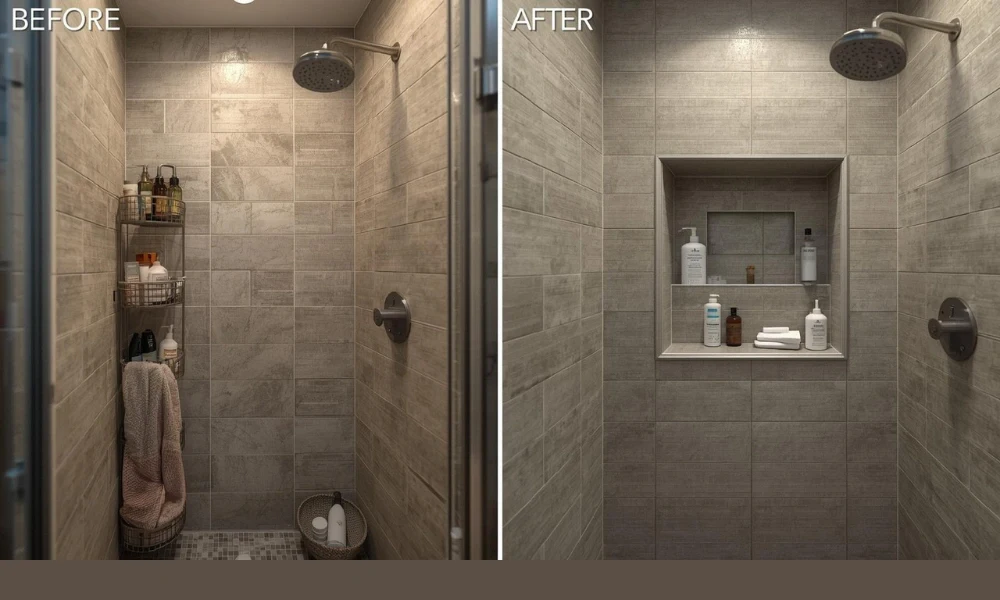
The “After” result is a built-in shower niche that matches the wall tile. It offers a sleek place for soaps while keeping the spa-inspired shower upgrade looking tidy.
13. Biophilic Design: Bringing Nature In
The biophilic refresh uses natural wood and earthy tones to create a wellness-focused environment.
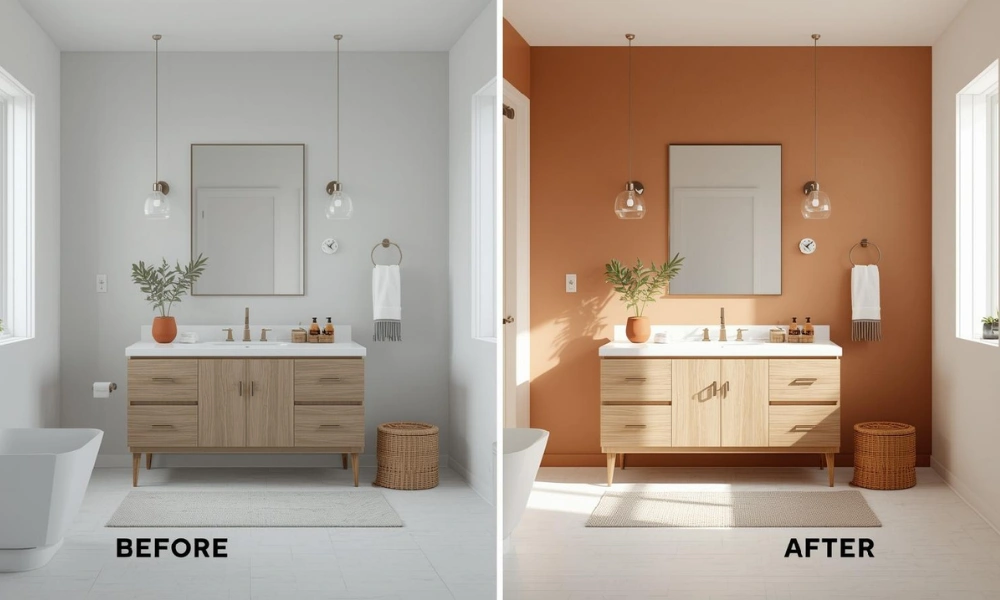
In 2026, homeowners are moving away from cold, all-white rooms. By adding light oak vanities and terracotta accents, the space feels warm and grounding. You can start with these Simple Ways to Update Your Bathroom. today. Thus, you will understand how color and texture change the mood.
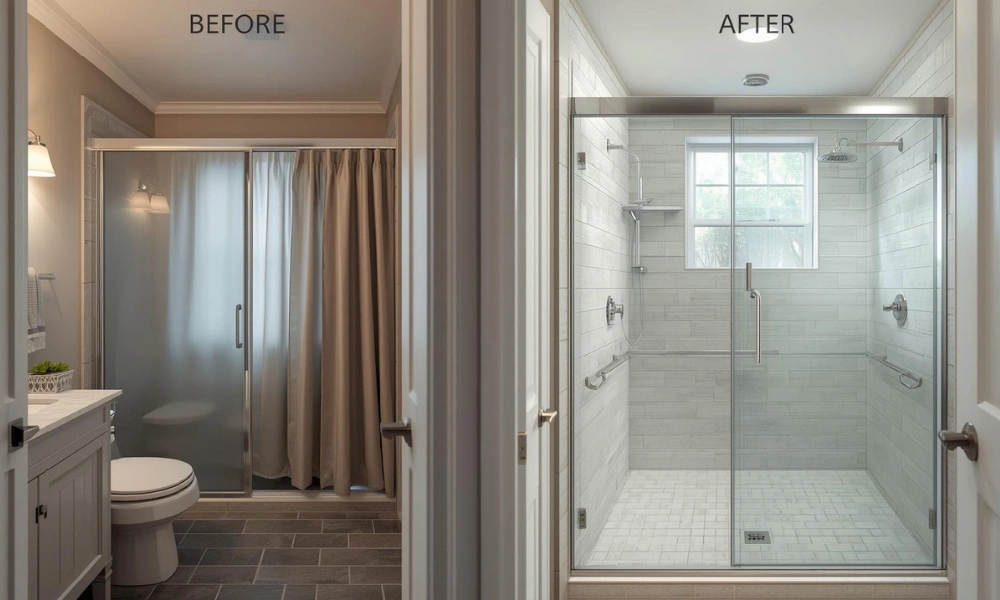
14. Frameless Glass: Opening the View
A frameless glass for an open feel removes visual blocks and highlights your new tile work. Before the remodel, a frosted door or heavy curtain hid the shower and made the room feel small.

After installing frameless glass or a glass shower panel, you will see the full depth of the room. This makes even a 5×8 bathroom remodel reveal feel like a grand master suite.
15. Waterproofing Systems: Behind-the-Scenes Quality
Using a cement backer board plus a waterproof membrane is the only way to ensure a leak-free “After” scenario.
I have found many hidden leaks during a to-the-studs bathroom gut remodel. By installing a modern waterproof membrane and moisture-resistant drywall, we protect your home for the long term. Consider these good tips When Remodeling Your Bathroom to ensure your subfloor reinforcement and bones are as good as your finishes.
16. High-Flow Ventilation: Keeping Air Fresh
A quiet exhaust fan vented outdoors protects your new paint and cabinetry from steam damage. Many old fans are loud and weak, leading to peeling paint and mold.
After the upgrade, an improved ventilation and airflow system runs silently. It keeps the room dry and ensures your bathroom renovation transformation stays fresh for years. Understanding How Much Value a Bathroom Adds to Your Home explains why these functional updates are so vital.
The Budget Spectrum: Planning for 2026
A realistic budget for a 2026 bathroom remodel ranges from $4,000 for cosmetic updates to over $45,000 for primary suites. Knowing Why, When & Where to Start your bathroom remodeling in 2026 helps you pick the right spending level.
- Budget ($4,000 – $10,000): Focus on a powder room refresh before vs after or a guest bath facelift. Use Water Sense fixtures to save on water bills.
- Midrange ($15,000 – $30,000): Includes a tub to shower swap and high-quality quartz countertop surfaces.
- High-End ($45,000+): Full high-end bath transformation with structural changes and luxury freestanding tub additions.
Final Thoughts
Remodeling your bathroom is a big step towards a more comfortable home. I have seen how a real homeowner remodel story starts with a dream and ends with a beautiful, functional room.
Whether you want a quick refresh or a full primary bath remodel transformation, we are here to help. At Texas Pro Remodeling, we guide you through every choice to ensure your bathroom is a space you love.
Frequently Asked Questions (FAQs)
1. What is the golden rule for bathroom layouts?
The golden rule is to keep the plumbing layout as close to the original as possible. Keeping drains and supply lines in place can save you up to $5,000 in labor. It will also allow you to spend more on new fixtures and finishes.
2. Can I renovate my bathroom for $10,000?
Yes, you can modernize a builder-grade bath upgrade with a $10,000 budget. Focus on a vanity replacement, tile refresh, and a brighter vanity lighting plan.
3. What upgrades give the biggest visual impact in a bathroom?
A walk-in shower upgrade reveal and a bathroom lighting upgrade provide the most dramatic visual change. These updates remove the dated feel of old tubs and yellow lighting. It creates a small dark bath transformed into a bright modern space.
4. How long after tile can glass be installed?
A frameless glass installed after the tile cures usually takes about 48 to 72 hours. This ensures the updated tile grout and caulk are fully set before the heavy glass is mounted.
5. What lighting makes bathrooms look better after remodeling?
Use vanity lighting at face level with side sconces to avoid shadows. This is a key part of a three-layer lighting plan: task, ambient, and accent, which makes the room feel high-end and functional.